Japandi Basics
How to Build a Japandi Gallery Wall (Without It Looking Like a Pinterest Board)
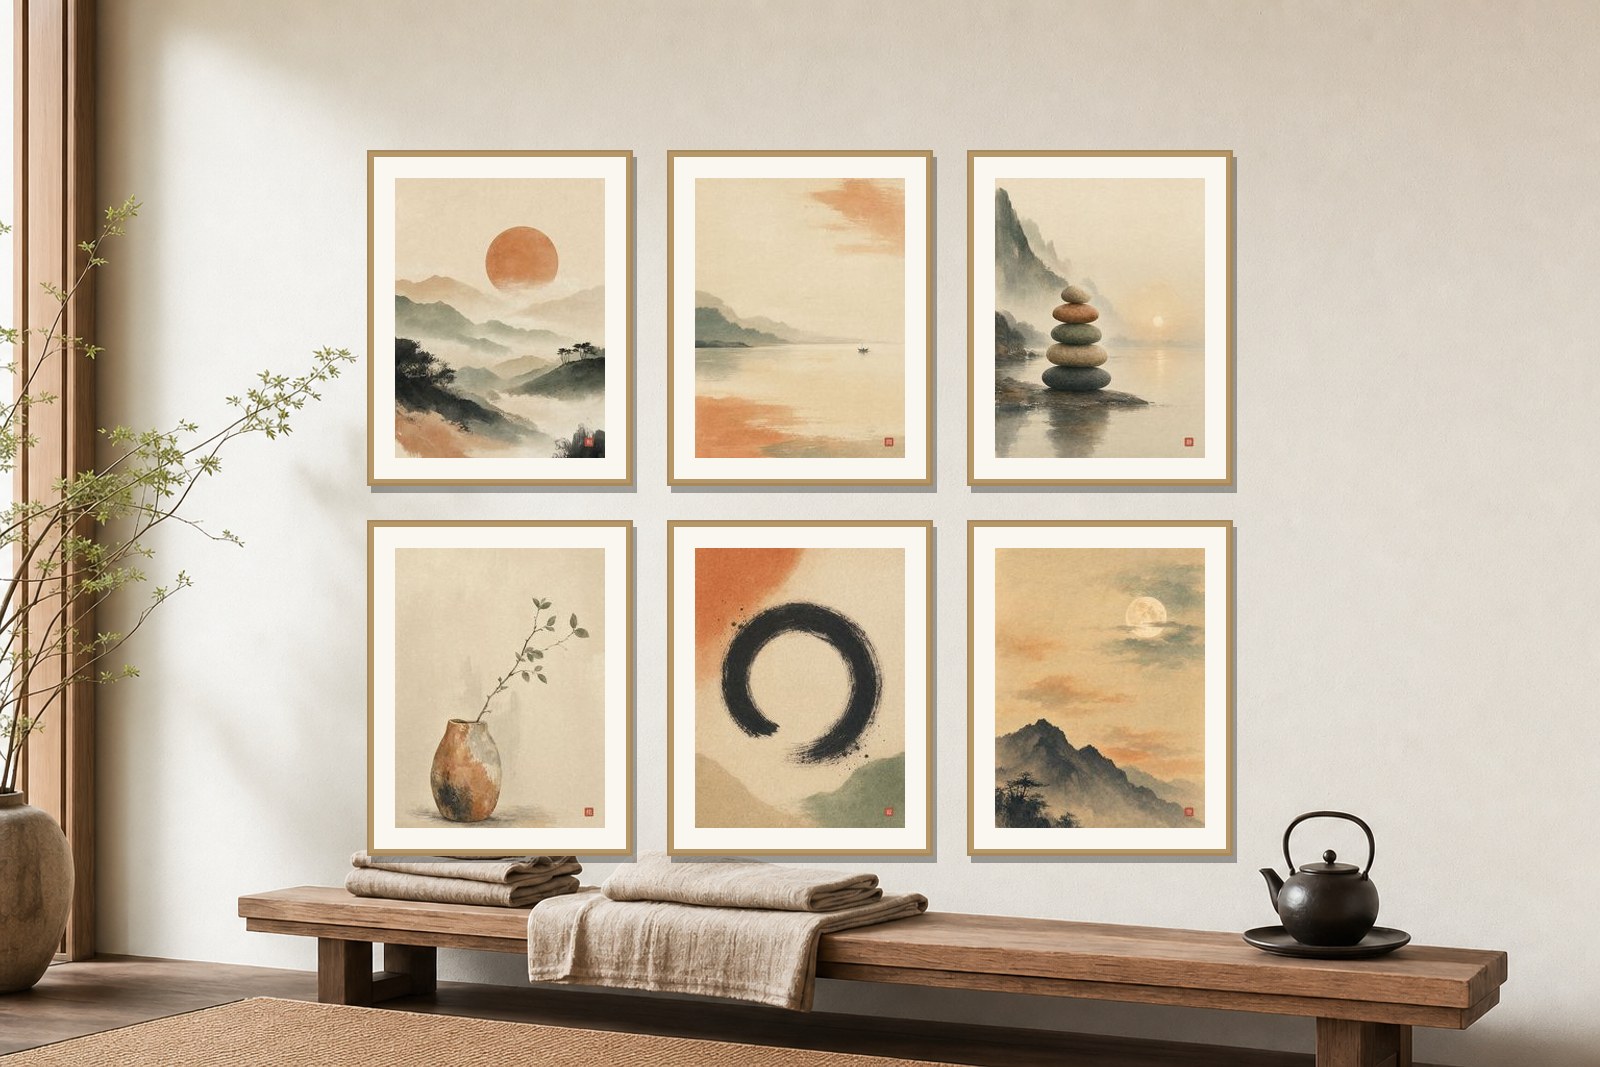
Here is the uncomfortable thing about gallery walls: the ones that go viral are almost never the ones that feel good to live with. Twenty-two frames in eleven sizes photograph beautifully from one specific angle and then quietly exhaust you every morning for three years.
Japandi solves this by doing less, but “less” is harder to execute than it sounds — a sparse wall done wrong just looks unfinished. So here are the actual rules, the ones I use in a Tokyo apartment where every wall is also somebody’s walking route.
Rule 1: pick a number, and make it small
Two, three, or six. That’s the list.
- Two prints side by side: the calmest option, and the hardest to get wrong. Works above a bed, a bench, a sideboard.
- Three in a row: reads as deliberate rhythm rather than decoration.
- Six in a 3×2 grid: the only “big” arrangement that stays calm, because the grid does the organizing for you.
Four in a 2×2 is fine but oddly static. Five is where things start looking accidental. If you want a large wall covered, use six in a grid rather than nine scattered — a grid reads as one object, and one object is restful.
Rule 2: one frame, repeated
This is the single biggest difference between a Japandi wall and a busy one. Same frame, same width, same finish, on every piece. Light oak, ash, or a warm walnut — whatever matches the wood already in the room.
Mixing frame styles is the “collected over time” look, which is a legitimate aesthetic and simply not this one. Japandi’s calm comes from repetition; the variation lives in the art, not the hardware.
One more thing people skip: use a mat. A white or off-white mat of 4–6 cm gives each print breathing room, and breathing room is the entire point. A frame with a mat costs a few dollars more and does most of the visual work.
Rule 3: the spacing math
Frames go 5–8 cm apart. Closer than 5 cm and they read as one crowded mass; wider than 8 cm and they stop feeling related.
For height: the center of the arrangement sits about 145 cm from the floor, which is roughly eye level for most people standing. If the wall is above furniture, ignore that number and use this instead — 20–25 cm of gap between the top of the furniture and the bottom of the frames. Art floating too high above a sofa is the most common apartment mistake, and it’s the one that makes a room feel unsettled without anyone being able to say why.
Quick reference for a 3×2 grid of 18×24″ (46×61 cm) prints with 6 cm gaps:
| Width | Height | |
|---|---|---|
| Grid of six (3×2) | ~150 cm | ~128 cm |
| Row of three | ~150 cm | ~61 cm |
| Pair | ~98 cm | ~61 cm |
Measure your wall before you buy frames, not after. Ask me how I know.
Rule 4: let one piece be the loudest
Even in a restrained set, one artwork should carry more visual weight than the others — the darkest ink, the boldest shape, the strongest color. Put it slightly off-center, not dead middle.
This is yohaku no bi, the beauty of blank space: emptiness only reads as intentional when something anchors it. A wall where every piece has equal weight looks like a catalog page. A wall with one anchor and five quiet companions looks composed.
Rule 5: match the wall to the room’s palette, not to the internet
Everything on that wall should live inside the five-color Japandi palette — warm off-white, mid-tone wood, clay, sage, ink. If a print introduces a sixth color, it will fight the room, no matter how good it looks on its own.
This is the practical argument for buying prints as a set rather than assembling singles from six different shops: a set is already color-matched, and matching by eye across different sellers almost never works. (It’s also why our own printable collections are built as six-piece sets on one palette — the Ma Collection in watercolor, Sumi-e Botanicals in ink.)
The five-minute version
- Choose 2, 3 or 6 pieces — never 5, never 9
- One frame style, repeated, with a mat
- 5–8 cm between frames; 20–25 cm above furniture
- One piece carries more weight, placed slightly off-center
- Stay inside the five-color palette
Tape paper rectangles to the wall before you drill. Live with them for a day. The layout you were sure about at 9 p.m. often looks wrong at 8 a.m., and paper is cheaper than spackle.
What’s going above your sofa — a pair, a row, or the full grid? If you send me the wall’s width I’ll tell you which sizes to buy.
— Japandi Notes, Tokyo
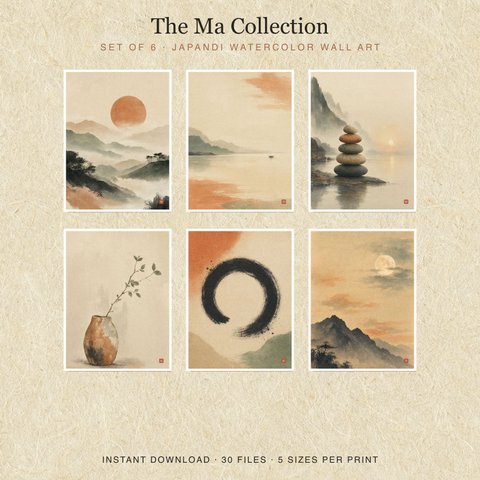
From our print shop
Wall art, made with this palette
Two collections built on the exact five colors from this site — watercolor landscapes and sumi-e botanicals. Instant download, five print sizes per artwork.
See all the prints →The 5 Japandi Principles (Free Cheat Sheet)
The five ideas that actually transfer from real Japanese homes — printable, one page, free.
Get the cheat sheet →